 |
| 先端部分は塗装しない Don't paint the front edge. |
 |
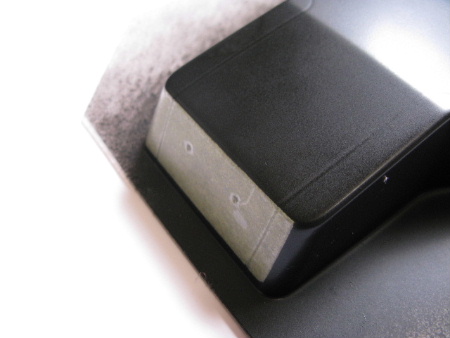
| 後端部分スキッドプレートに「はさめる部分」も塗装しない。 Don't paint the rear part which fit under the slit plate. |
 |
| 塗装・カット終了。 After painting and cutting... |
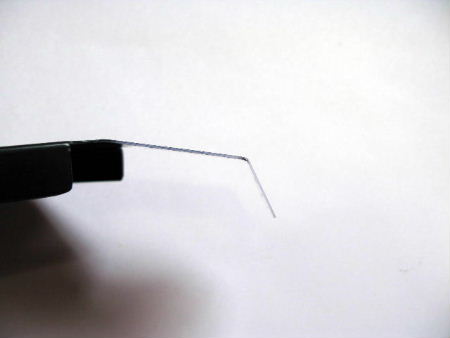 |
| 先端部分をシャーシに適合する角度に調整する。 Adjust the angle of the front edge so as to fit the chassis. |
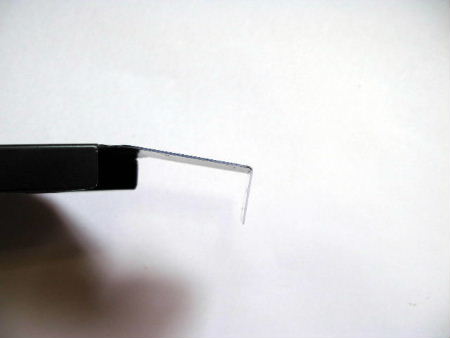 |
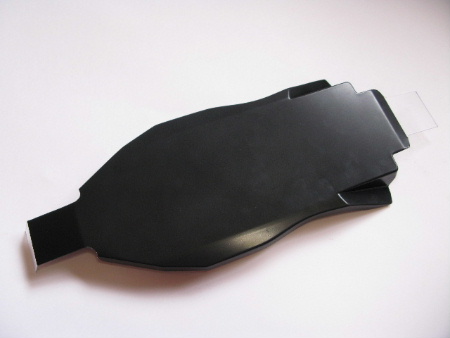
| この曲げ具合によってバンパーに挟める穴位置がずれる事がありますので・・・ The unoptimal angle of the front edge misalign the molds on the undrtray and the actual holes position of the front bumper... |
 |
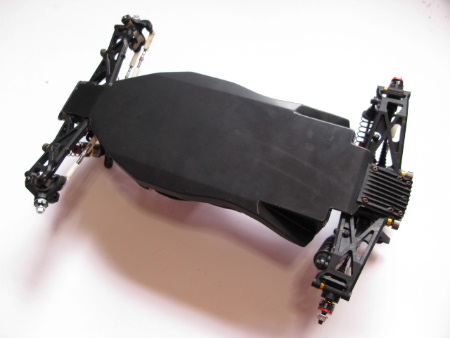
| アンダートレイにモールドされている穴位置はあくまで目安と考えてください。 確実な取り付けのためにも現物合わせでの確認を推奨いたします。 アンダートレイの先端部分はかっこよく処理してください。 写真の角ばったままは悪い例ですw バンパー取り付けビスは長さが不足する場合もありますので、その場合は M3×10の皿ビスに交換してしてください。(ボディーセットには付属しません) So please adjust the hole positions to the actual holes. Cut off the edge sticking out of the bumper to be cool. The picture, leaving the edge, is NO COOL. If the bumper screws seem too short, please use M3X10 screws (the screws are not included). |
 |
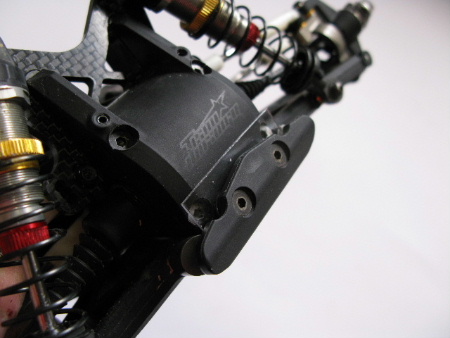
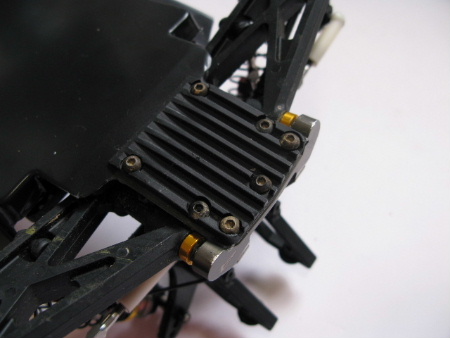
| 次に後ろ側の取り付け穴位置を決定します。 必要な穴径は3.1ミリ程度ですが、少し大きめの穴を開けた方がアンダートレイの 破損を減らす事ができるようです。 Decide the hole positions for the rear end. The minimum size of the holes are 3mm. However, bigger holes will protect the undertray from damages. |
 |
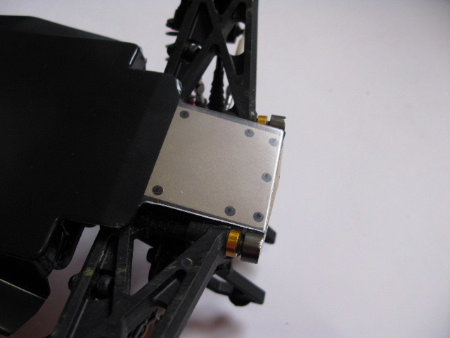
| スキッドプレートを取り付けます。 Fix the skit plate, and done! |
 |
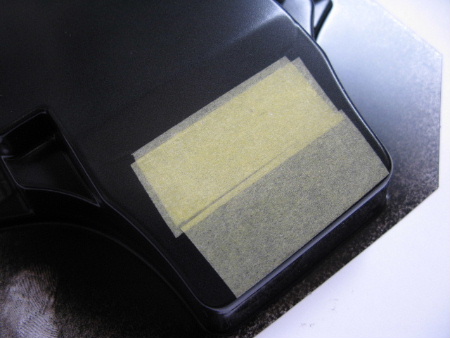
| 以上で取り付け完了です。 上記のビスによる固定と併用して薄手の両面テープ (スポンジタイヤ接着用として市販されている物を推奨) を使用するとアンダートレイの破損防止に効果的です。 また、確実な空力性能の発揮と長寿命化のためにも ボディーの取り付けはボディーセットに付属するベルクロと ボディーピンを併用して行って下さい。 Using thin doudle-sided tape with the screws for fixing the undertray will protect the undertray from damages. For better aerodynamic performance and long life, please mount the body with both body pins and velcro tapes. |